Workflow Execution with the EFP Workflows
Starting your computation on the HPC system is, thanks to the EFP Workflows, quite fast and easy. However, there are certain steps that must be performed, and this short guide will show you how to turn your job script and container into a workflow execution running on the latest HPC systems.
Log in
Visit https://workflows.my-eurohpc.eu to access the EFP Workflows web interface and click on the Login button. To proceed, make sure you accept the use of cookies when prompted. After logging in, you will see the project(s) you are assigned to.
Upload your code
First, you need to move your code from your personal machine to the EFP Workflows. For this purpose, there is the Data Management section.
You can access this section from the Menu on the left side.
Note: If you need to upload some data as well, you can do that from this section. However, in our example, we will assume no data is needed.
You can upload either a job script or the whole container.
Job script
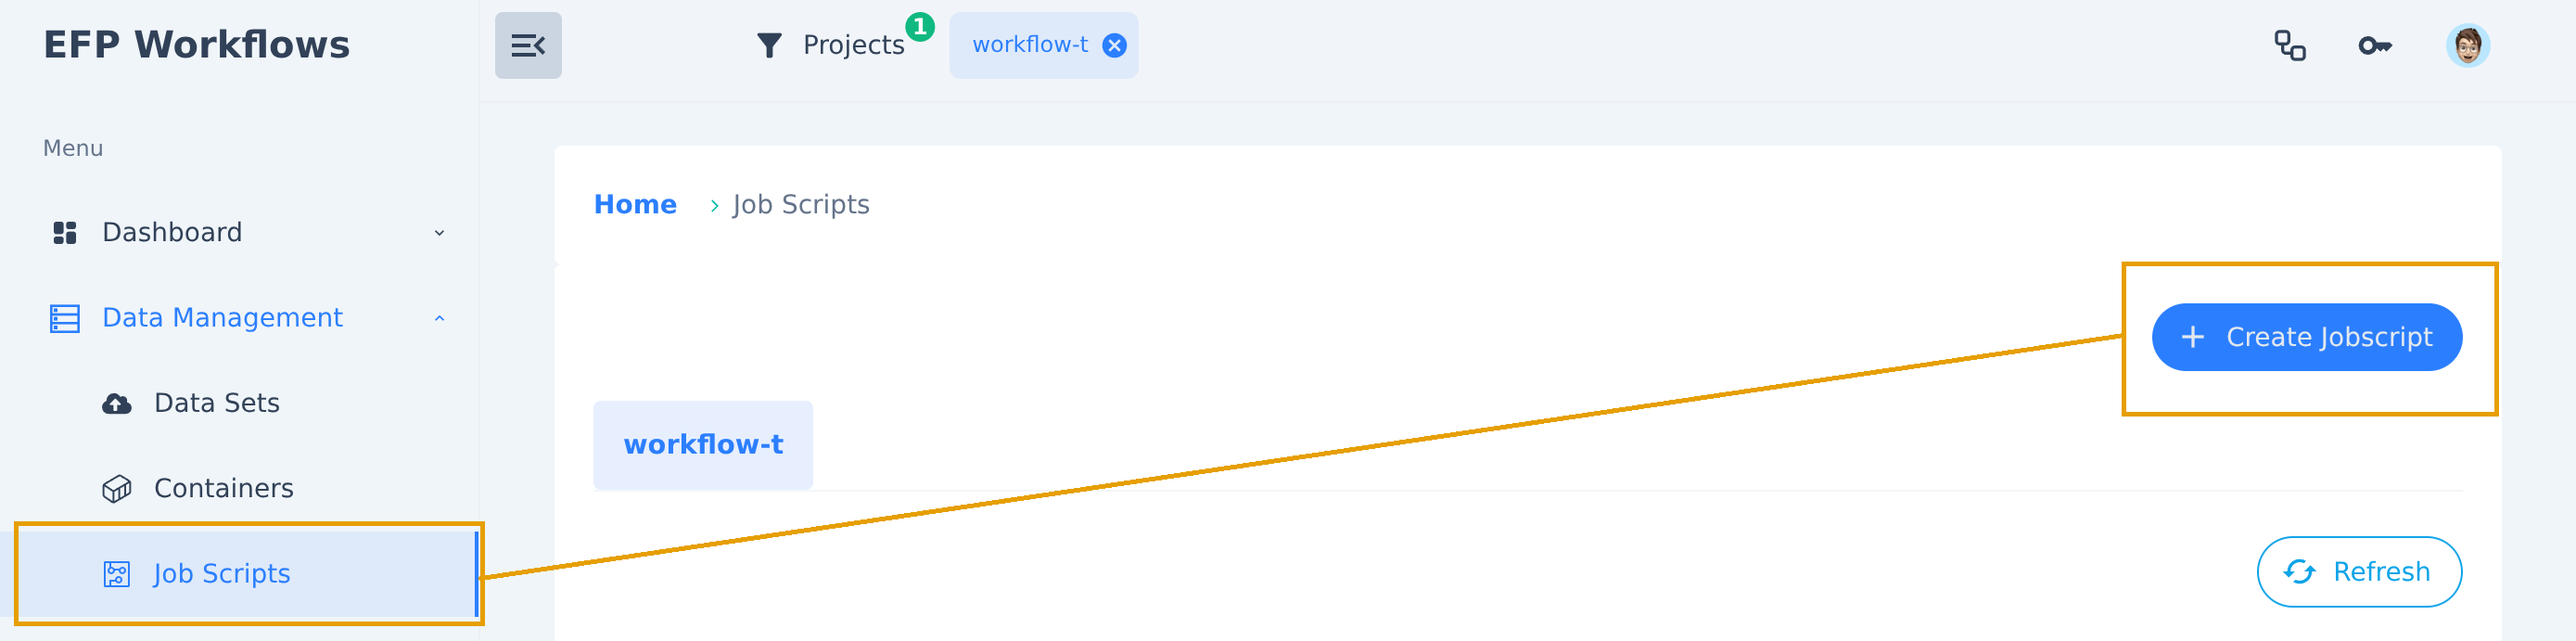
To upload your own HPC job script, navigate to Data Management - Job Scripts.
Locate the Create Jobscript button and click on it.
A new form for uploading a job script will appear. Fill in the following details:
- Name of the job script
- Project Short Name, to which the script will belong
- Access:
- User – visible only to the script owner
- Project – visible to all project members
- Public – visible to everyone
- Target System, where you want to run it
Finally, do not forget to paste your script code into the console.
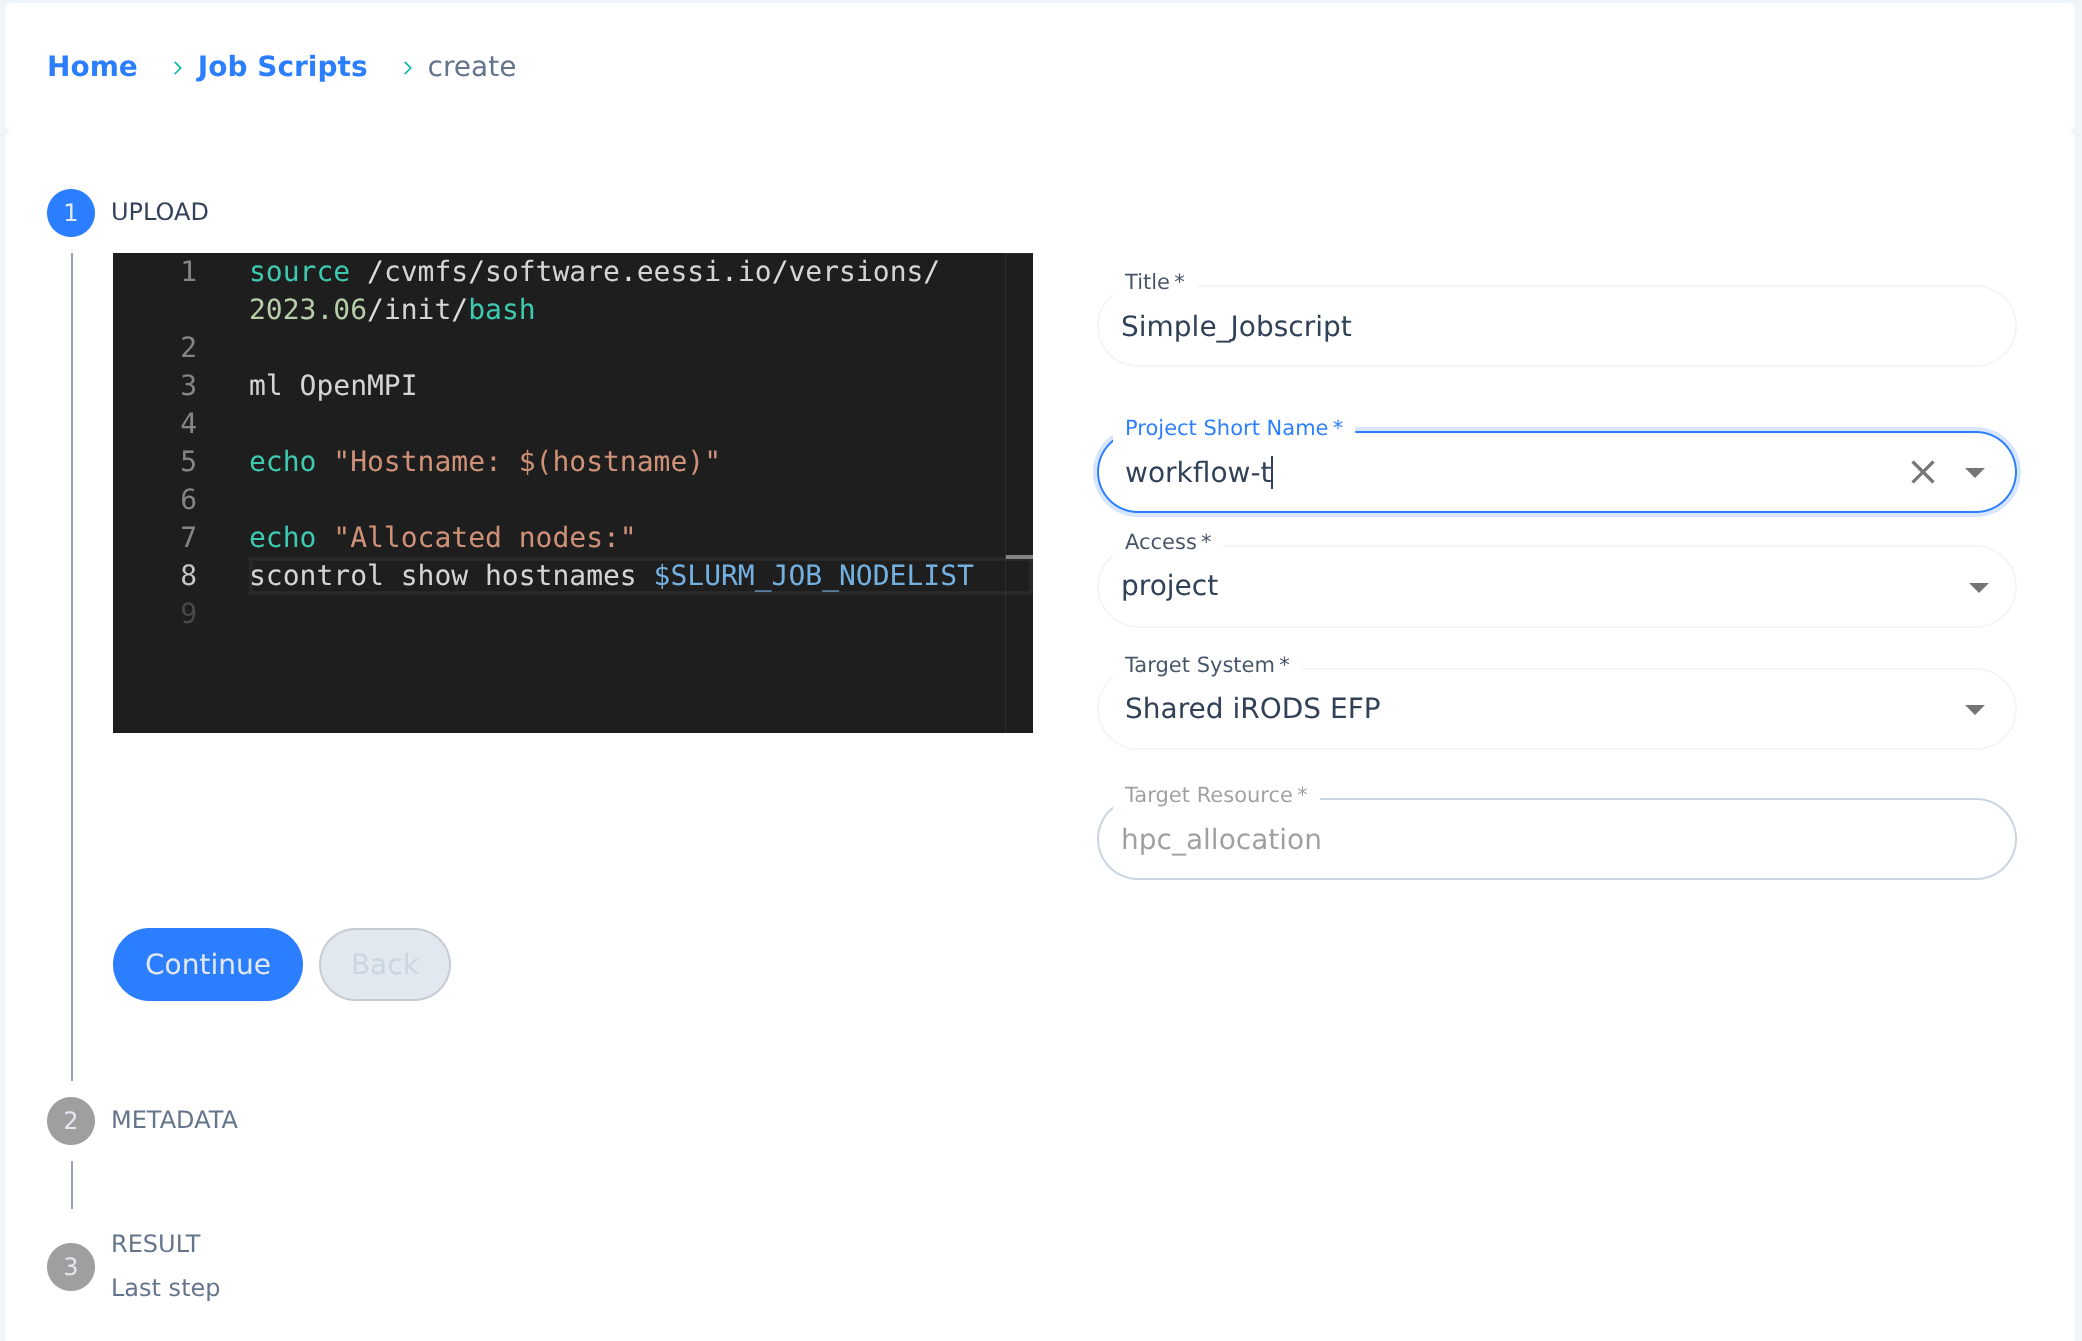
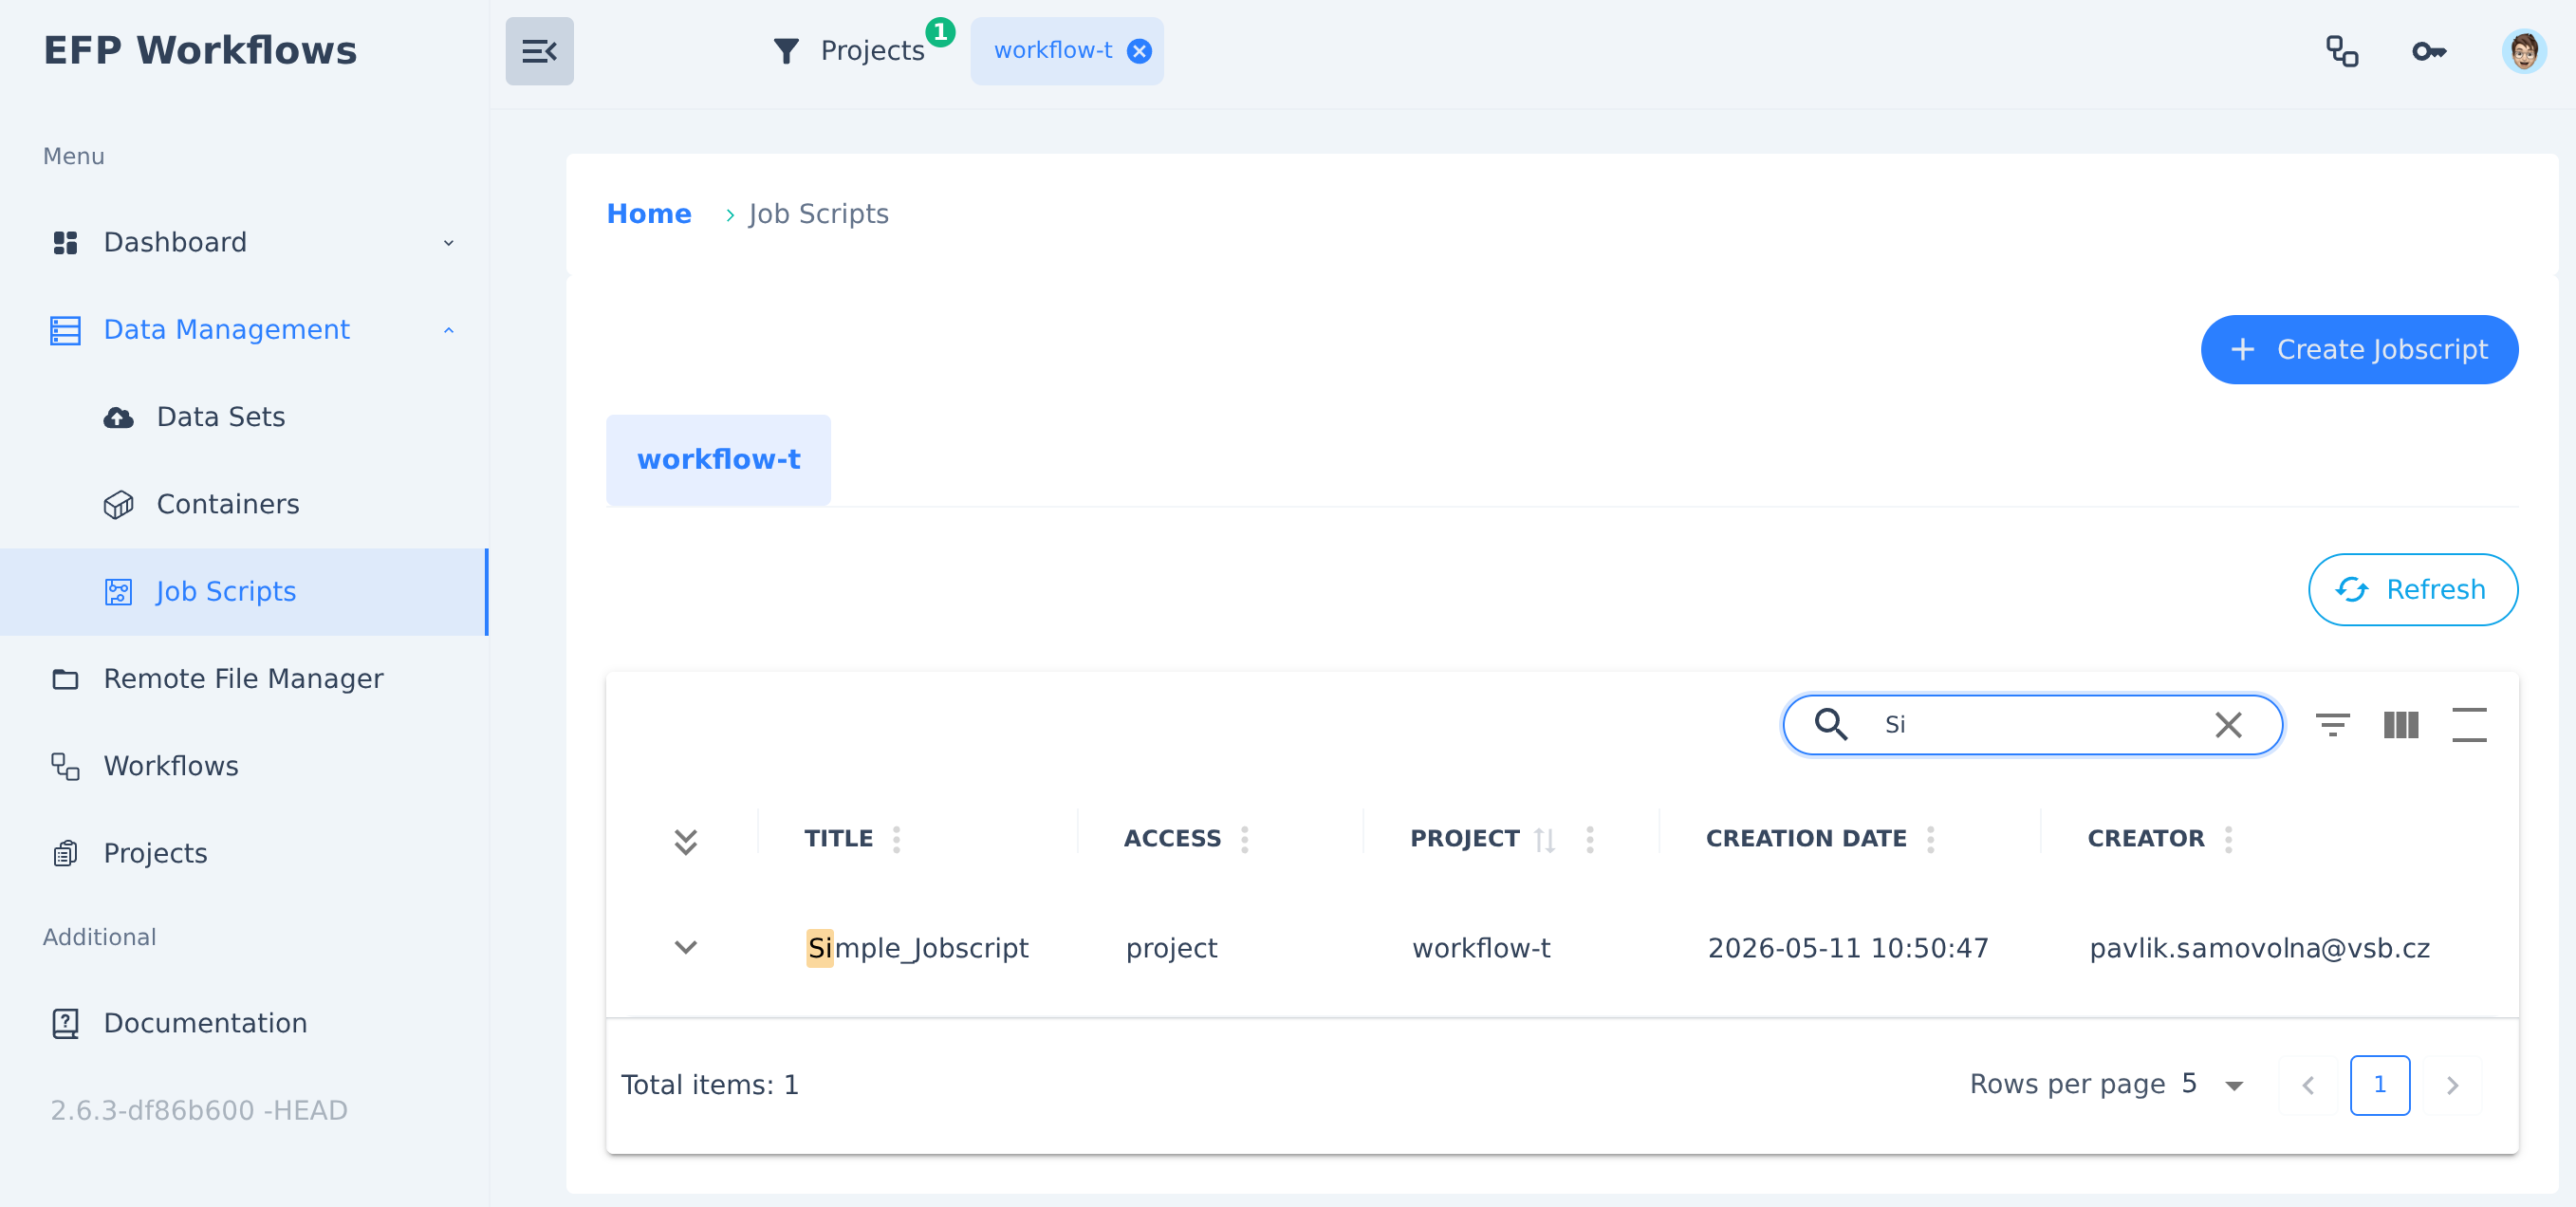
And Continue. The next page should be filled in, and you can click Continue again. The Result step shows you the summary for your job script, and after reviewing it, you can click Upload. You will be taken back to the Job Scripts section, and your new job script will be there.
Container
Containers on the EFP Platform are executed using Apptainer. Please make sure your container is compatible with this standard. You can visit the Apptainer website if you require more information.
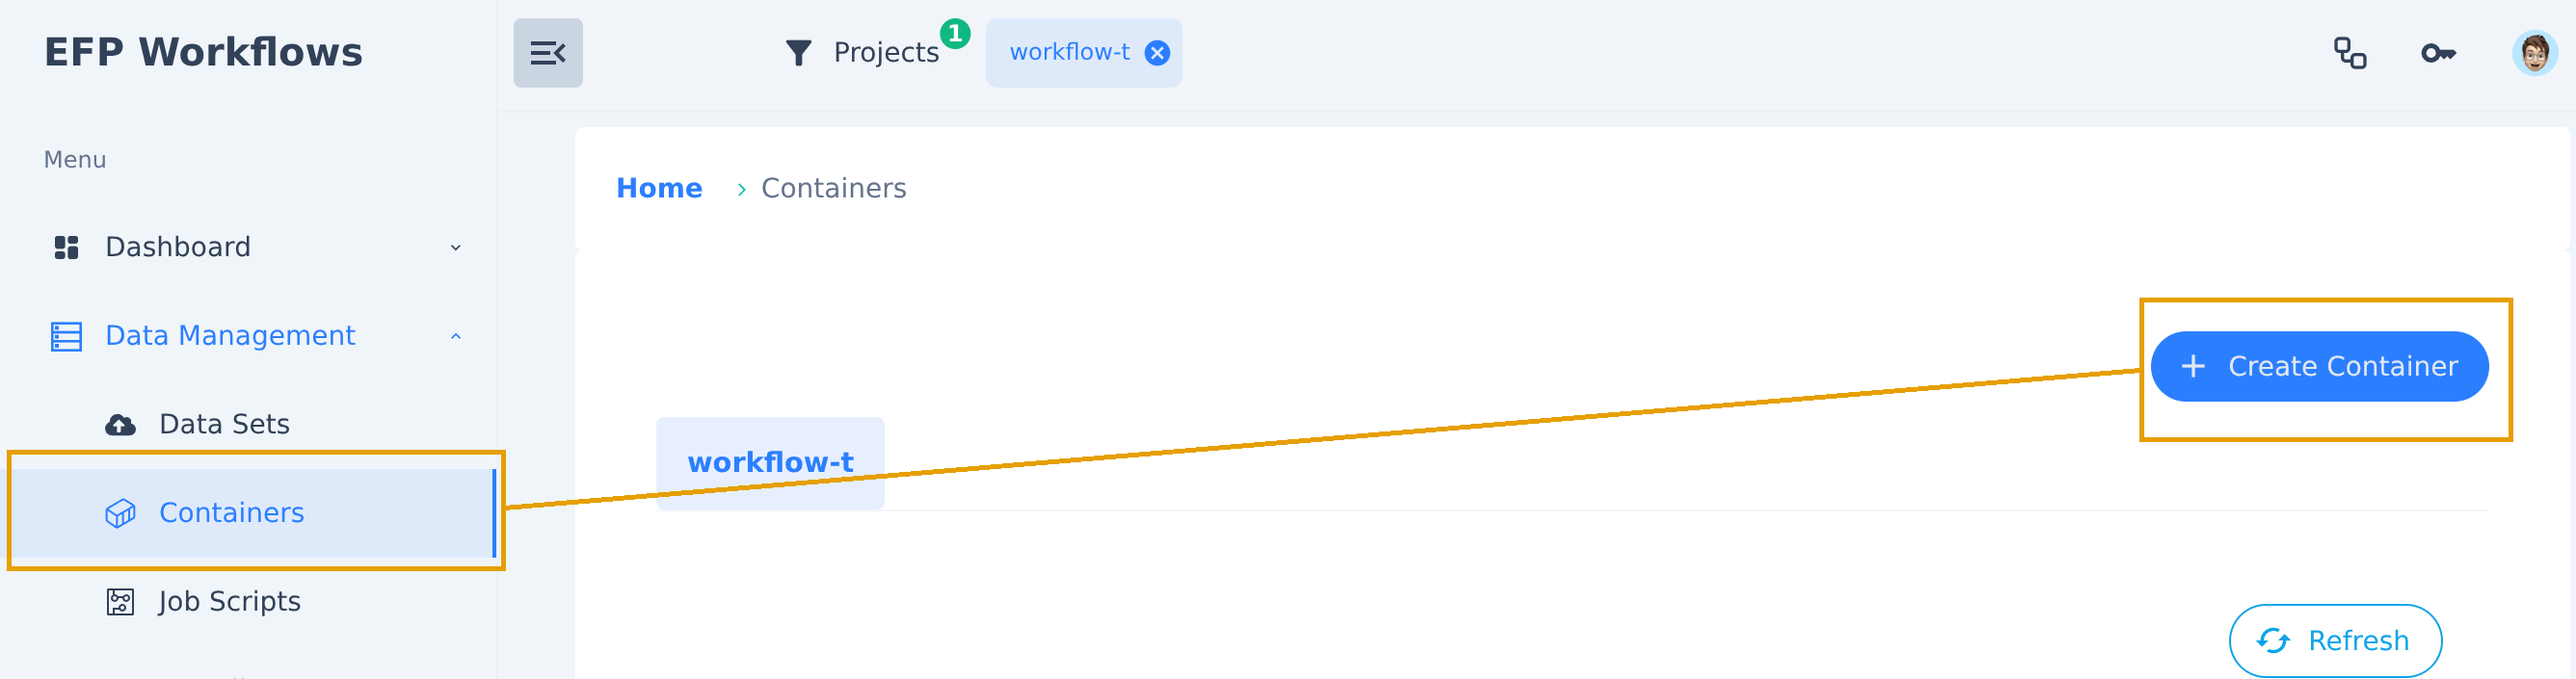
To upload your own container, navigate to Data Management - Containers.
Locate the Create Container button and click on it.
A new form for uploading a container will appear. Fill in the following details:
- Title of the container
- Project Short Name, to which the container will belong
- Access:
- User – visible only to the script owner
- Project – visible to all project members
- Public – visible to everyone
- Target System, where you want to run it
Finally, do not forget to upload your container.
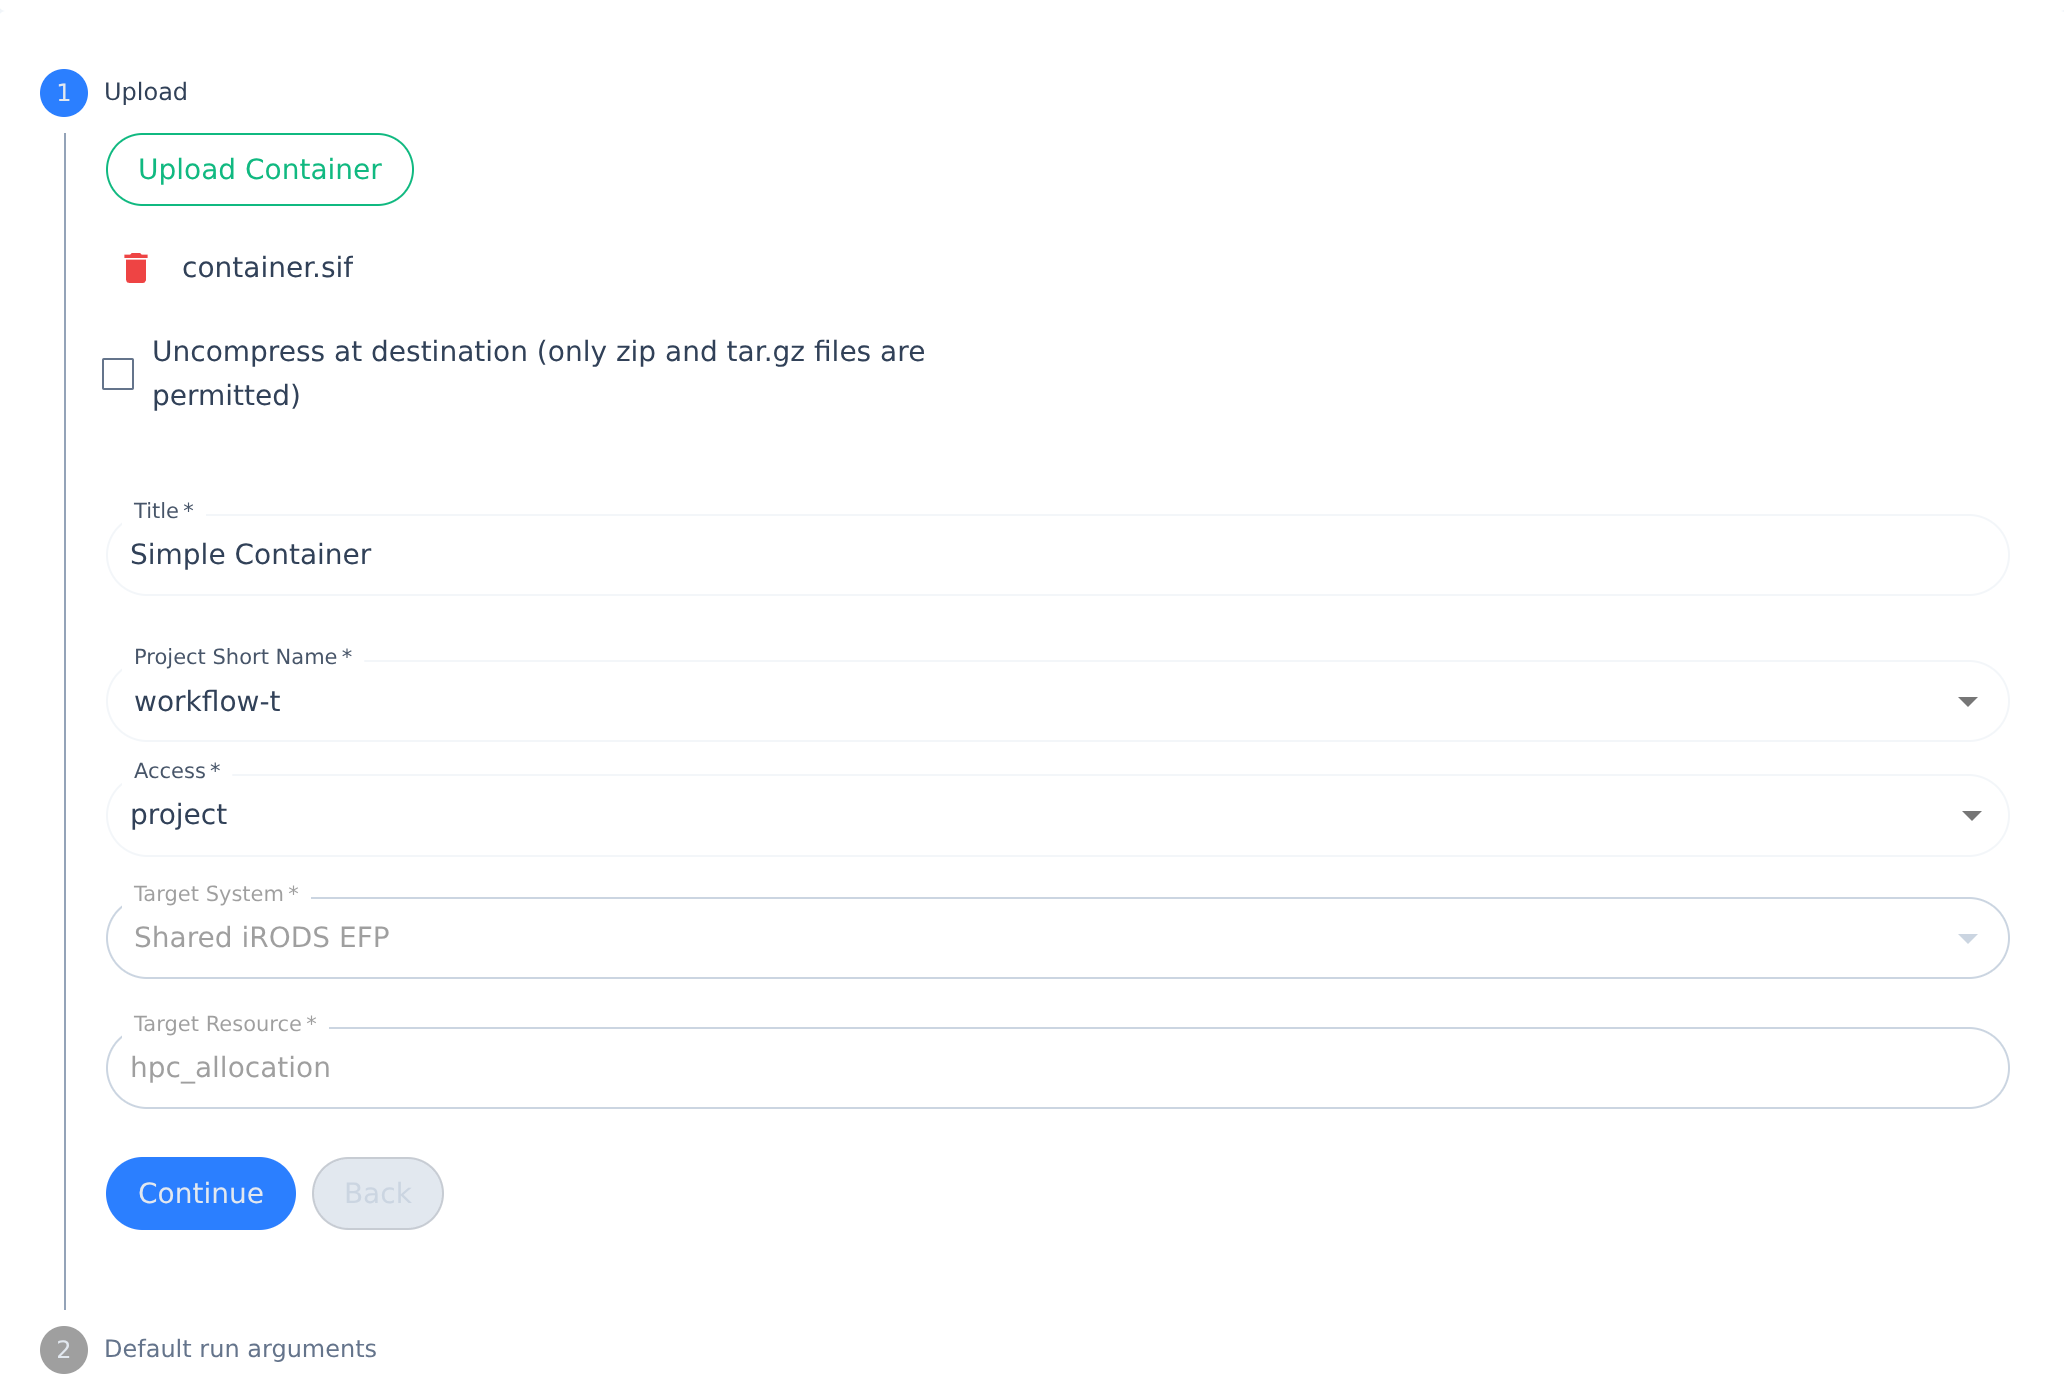
And Continue. If you need to enter any parameters for your container, you can do so here. Otherwise, click Continue. The Result step shows you the summary for your container, and after reviewing it, you can click Upload. You will be taken back to the Containers section and your new container will appear there. Depending on the size of the container, it may take some time to upload and appear in the list.
Create a workflow
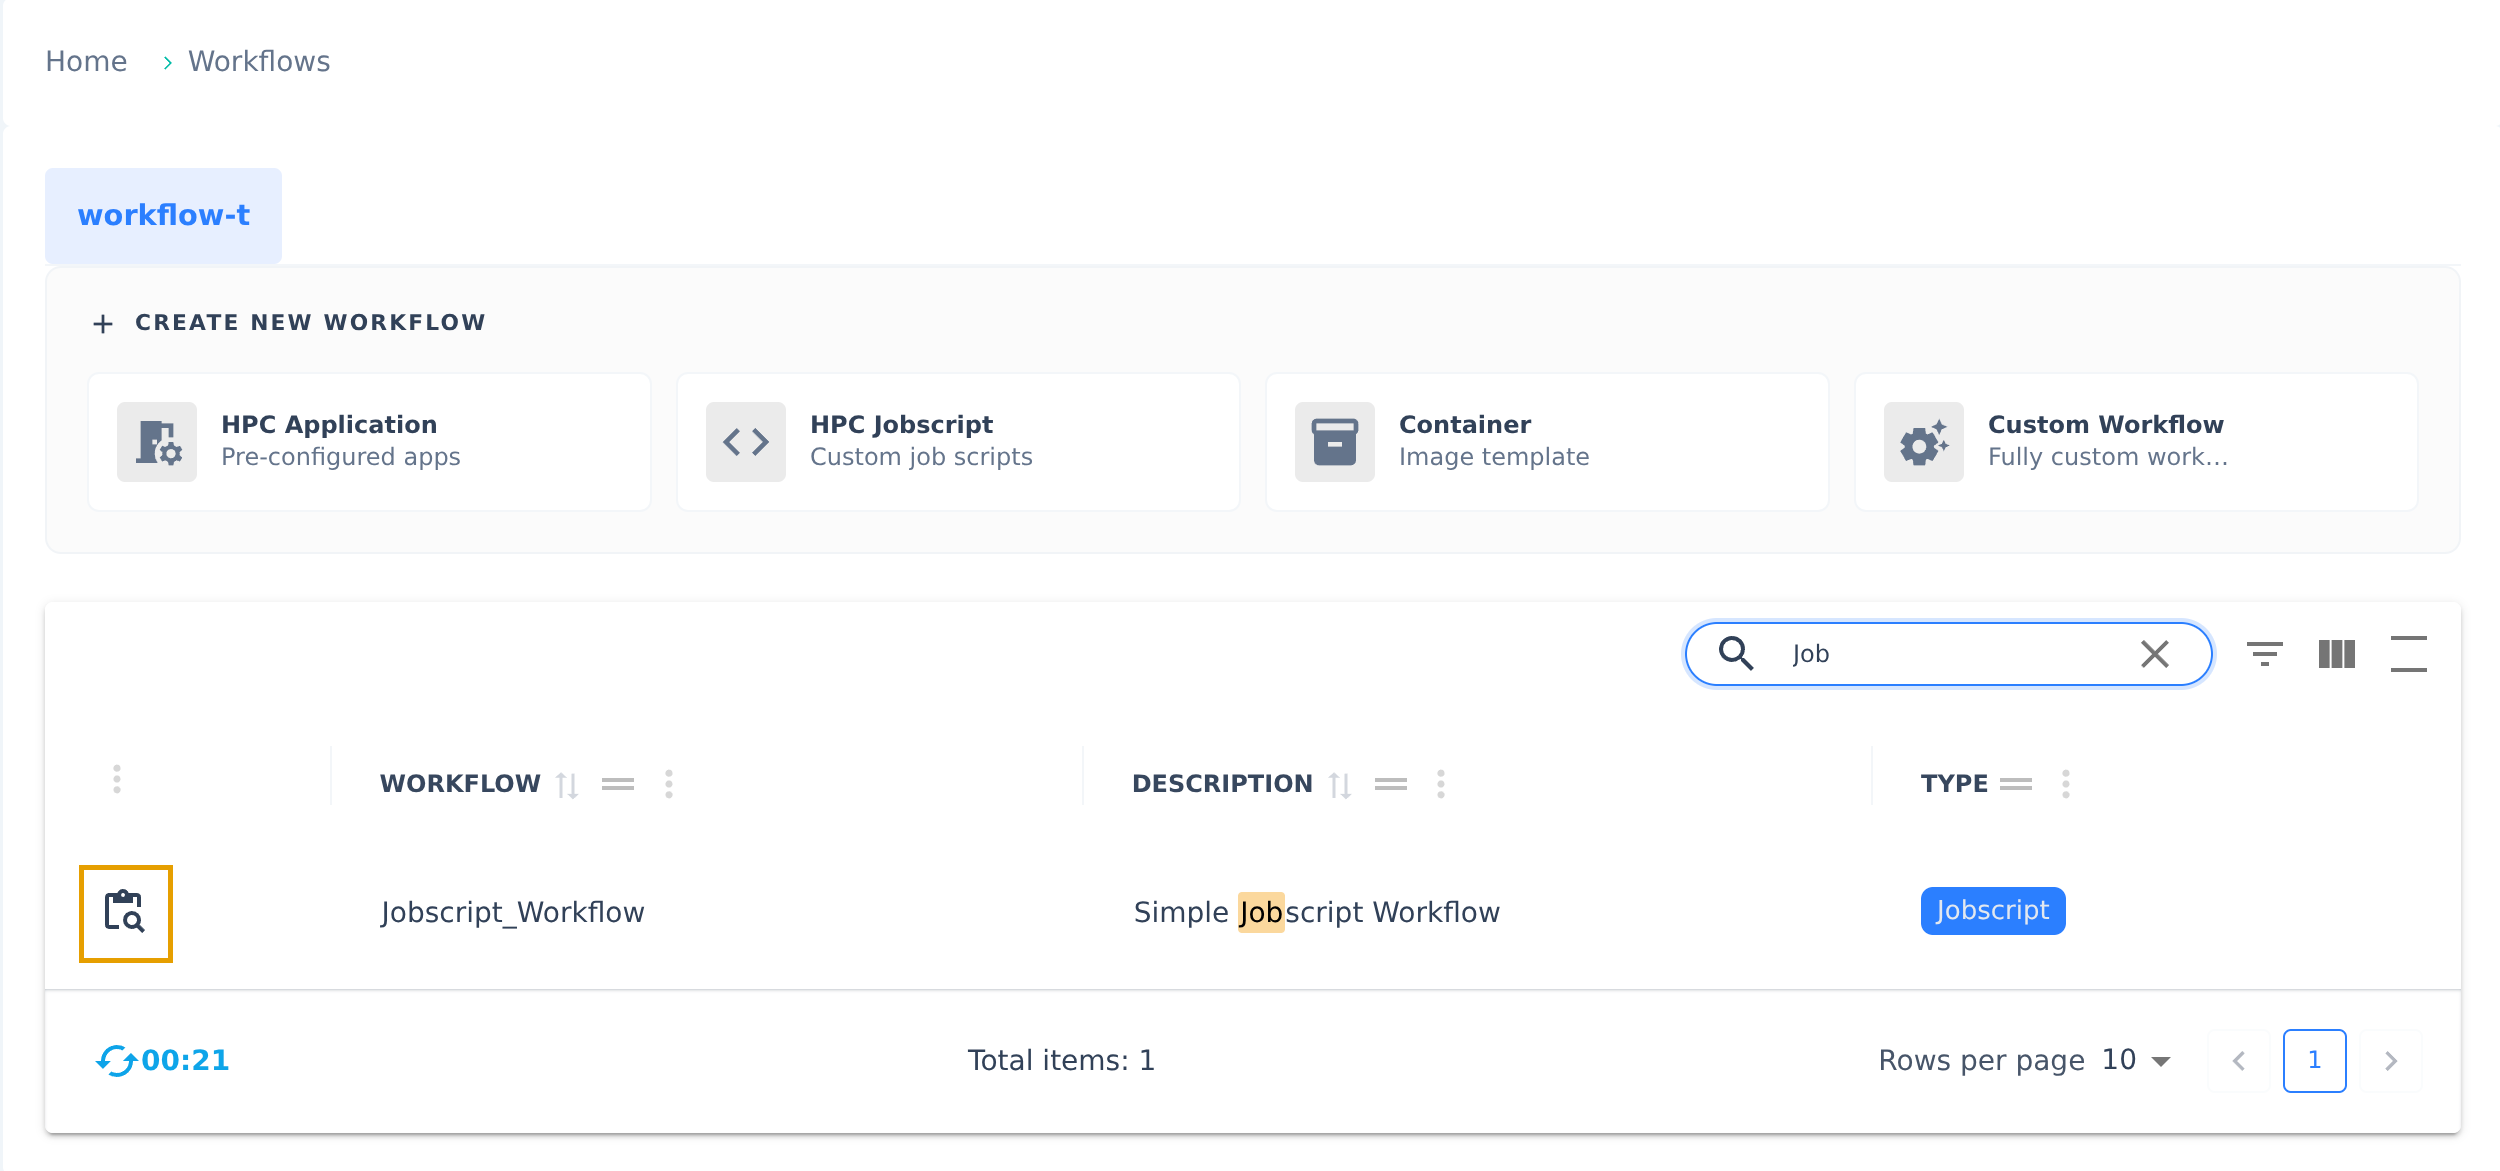
The next step is to create a workflow. The Workflows section is just for this purpose. You will find all your existing workflows here, and you can create new ones as well. And that is what we are going to do. Whether you want to create a workflow from a job script or a container, just click on the appropriate button.
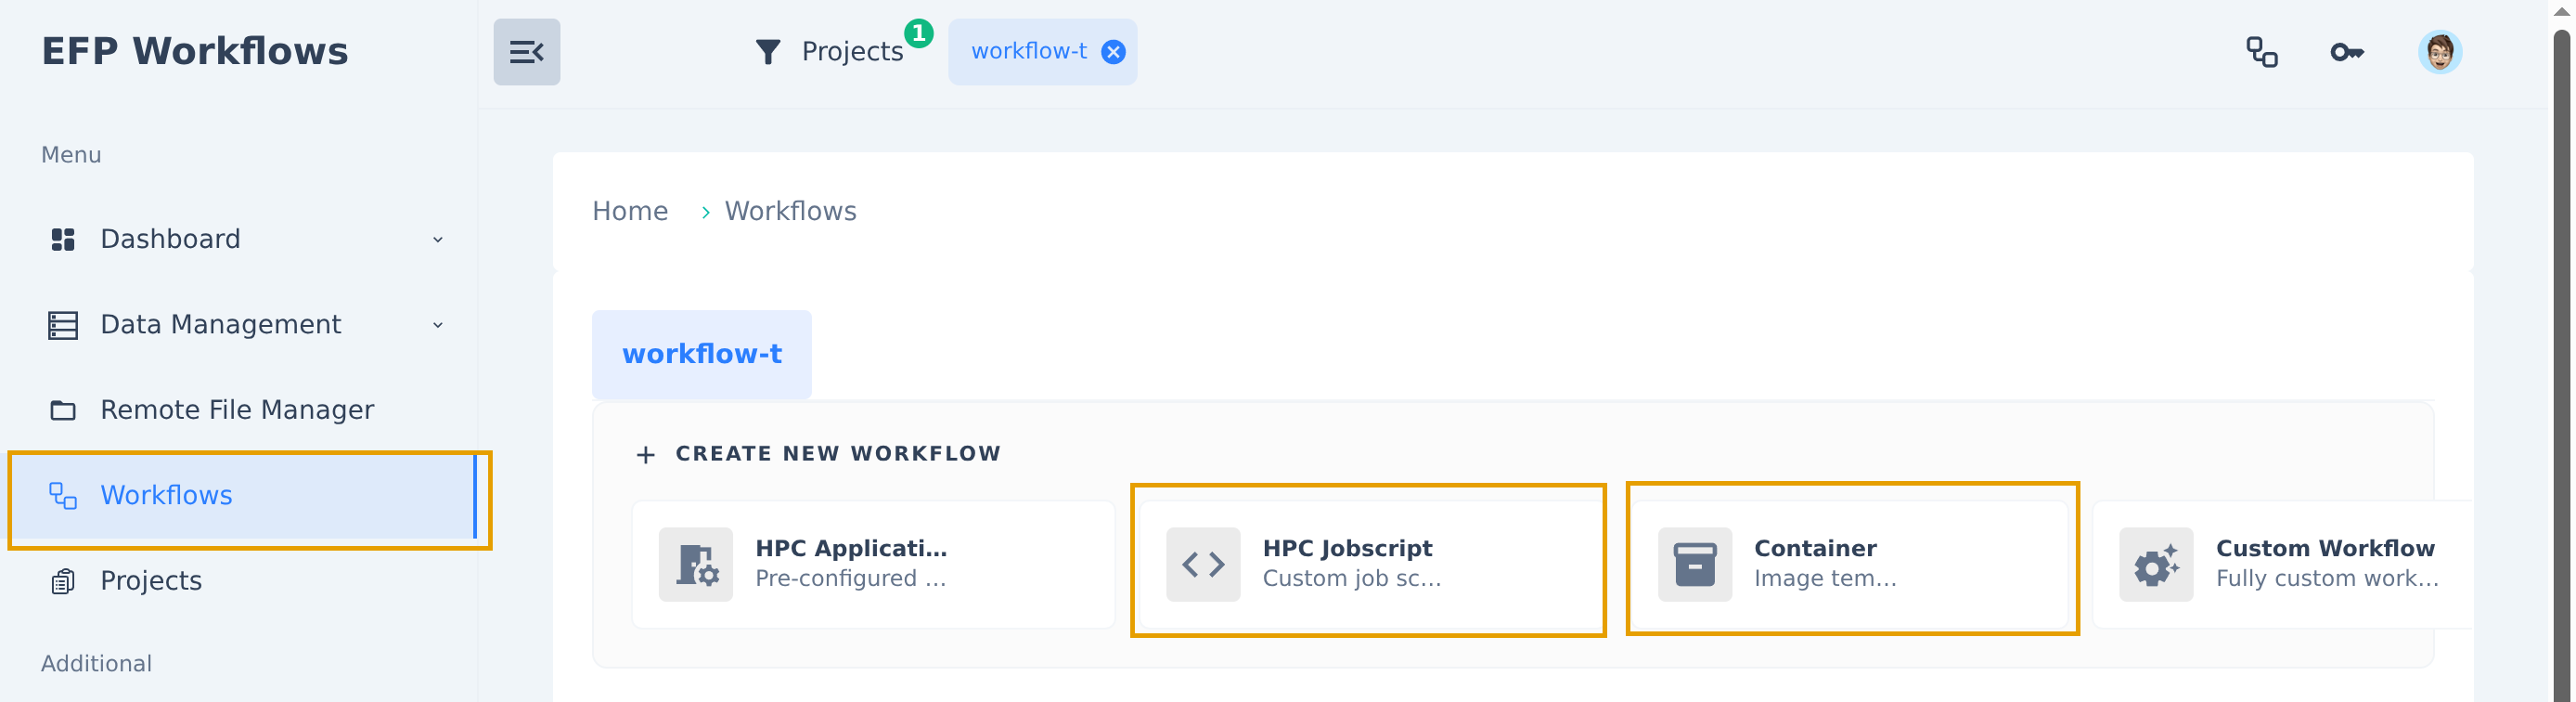
Each button will take you to a slightly different-looking place.
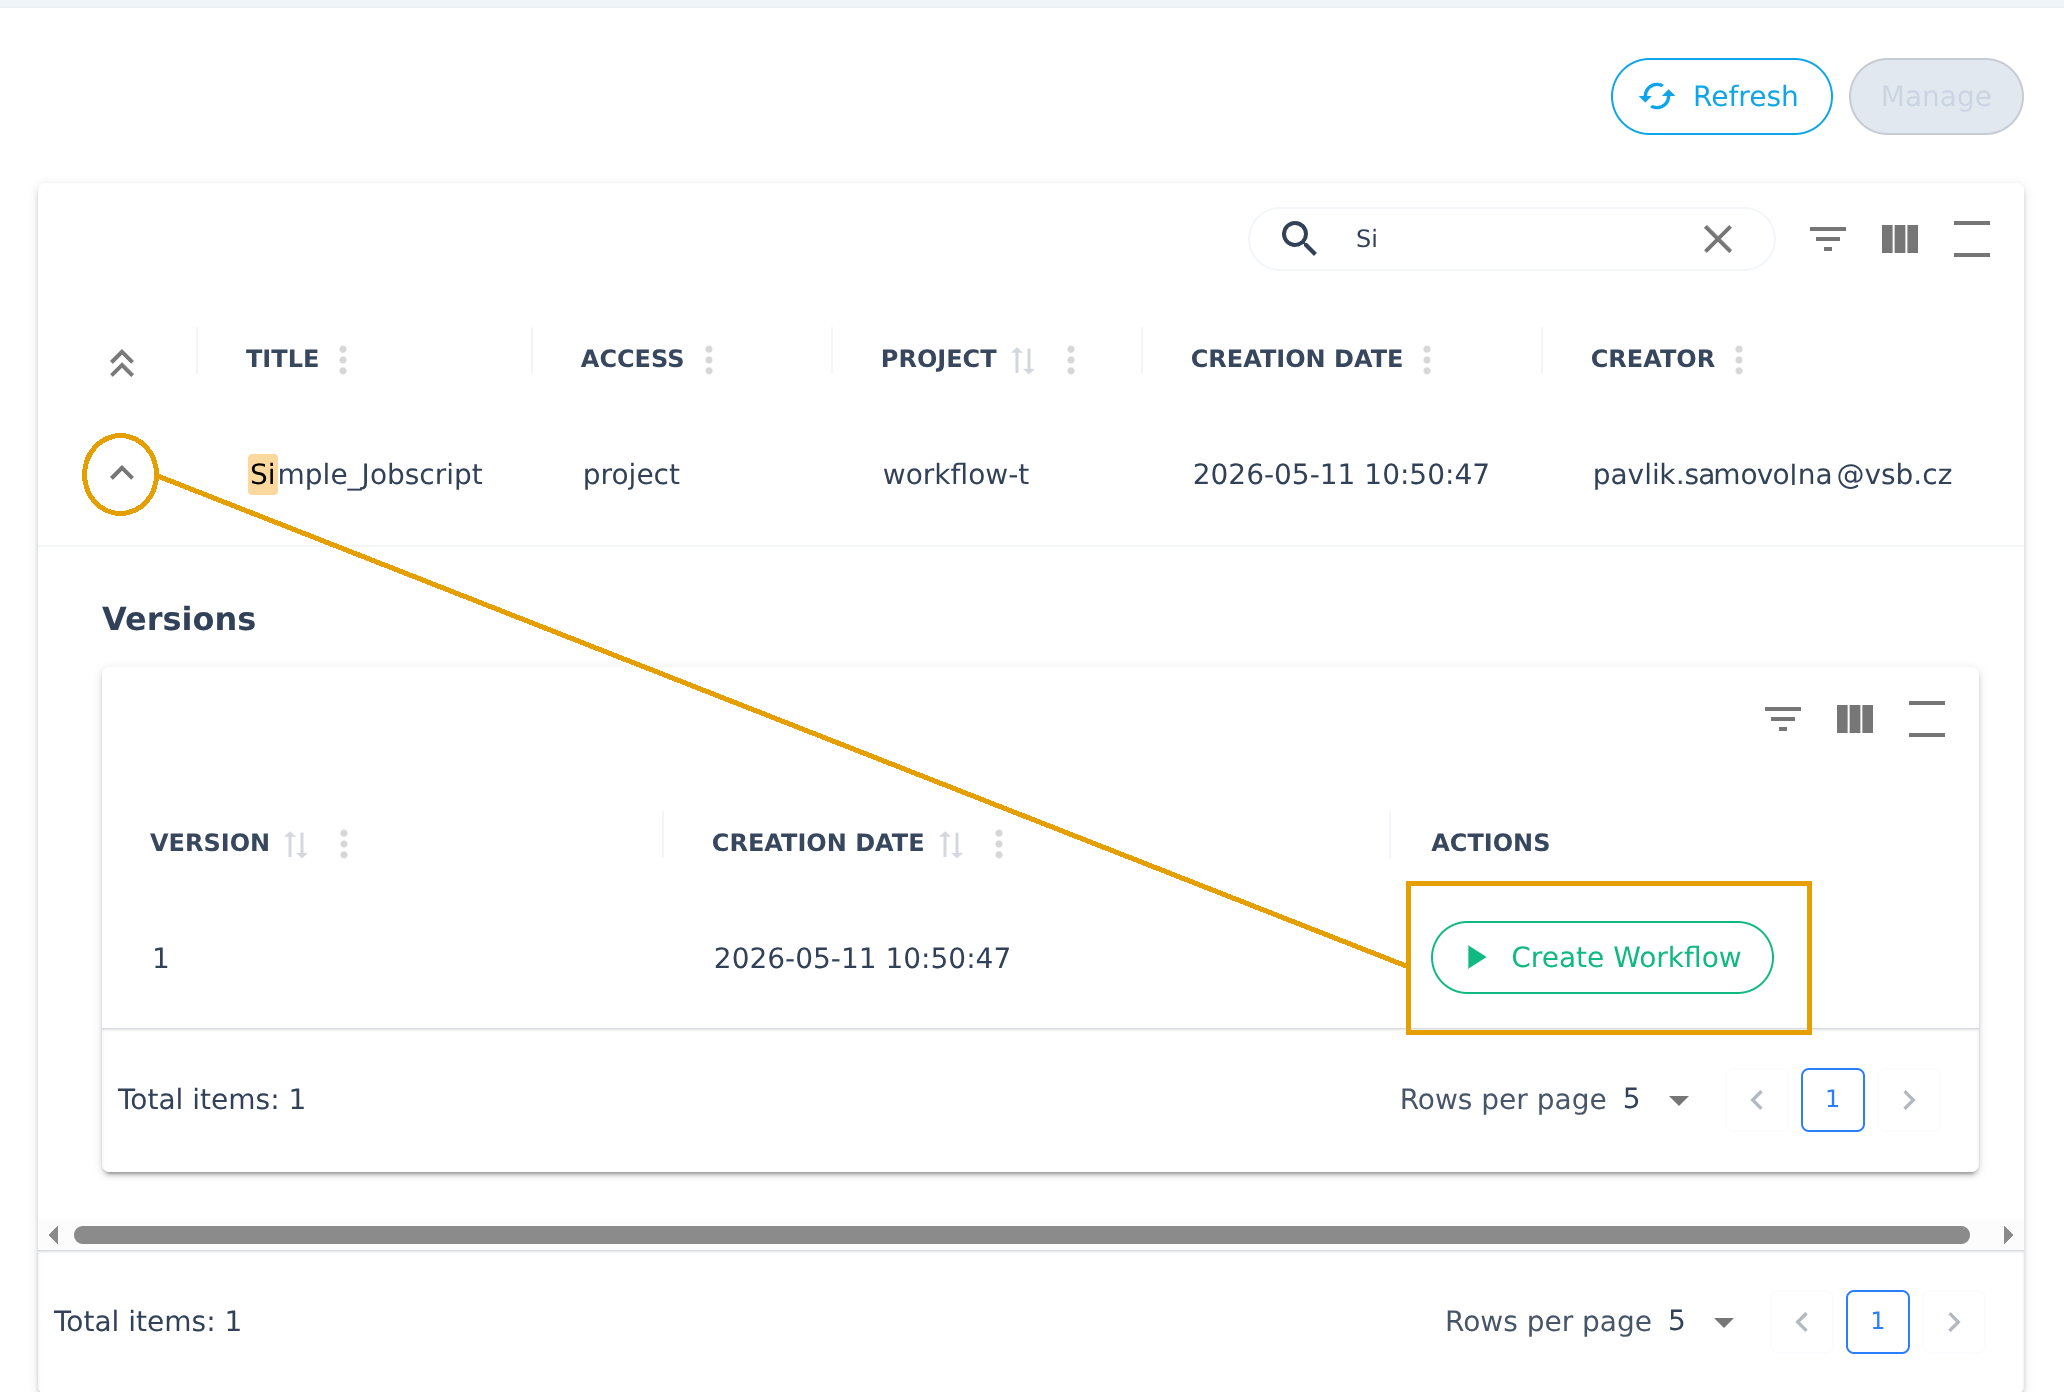
For job scripts, you will see the list of your uploaded job scripts, and you have to click the little Down arrow next to your job script title to reveal the Create Workflow button.
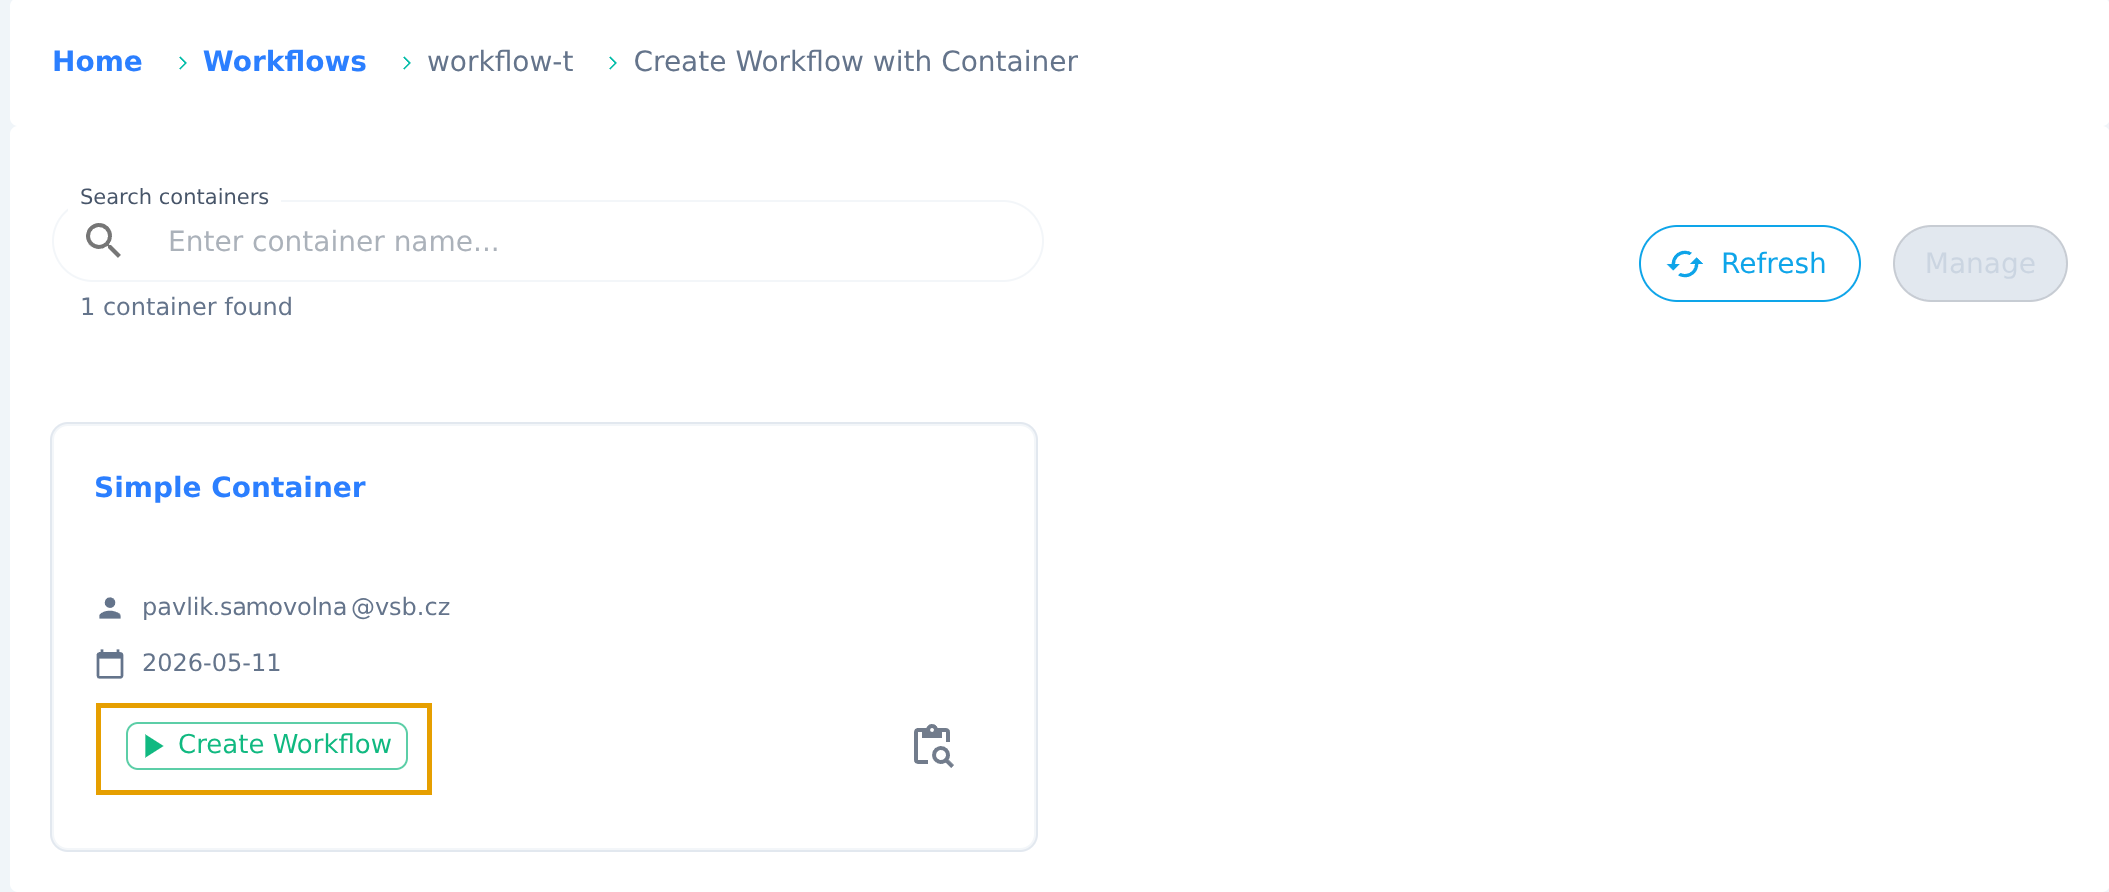
For containers, you will see them as little boxes, and the Create Workflow button will be visible immediately.
Once you click the Create Workflow button, everything will be basically the same.
On the first page, you have to enter:
- Name for your workflow
- Description for you and others
- Project Short Name should be filled already
The second page is for cluster selection. It will be limited to the assigned resources of your project. From each dropdown (Cluster, Partition, Resource), choose the desired item.
The third page is about handling the datasets. There is an option to Enable input dataset staging and Enable output dataset staging. You should check the first checkbox if your workflow requires an input dataset. You must have this dataset already uploaded into your project. The dataset will be staged to the /input directory relative to the HPC job execution context. It is possible you might have multiple input datasets for this workflow. You can add as many as needed with the Add Another Dataset Input button.
Similarly, if your workflow produces a dataset, check the second checkbox. Fill in the required information. You have options to produce multiple datasets as well.
The fourth page is for the advanced settings. You can probably leave them as they are.
Finally, the last page once again serves as a short summary of your soon-to-be-created workflow.
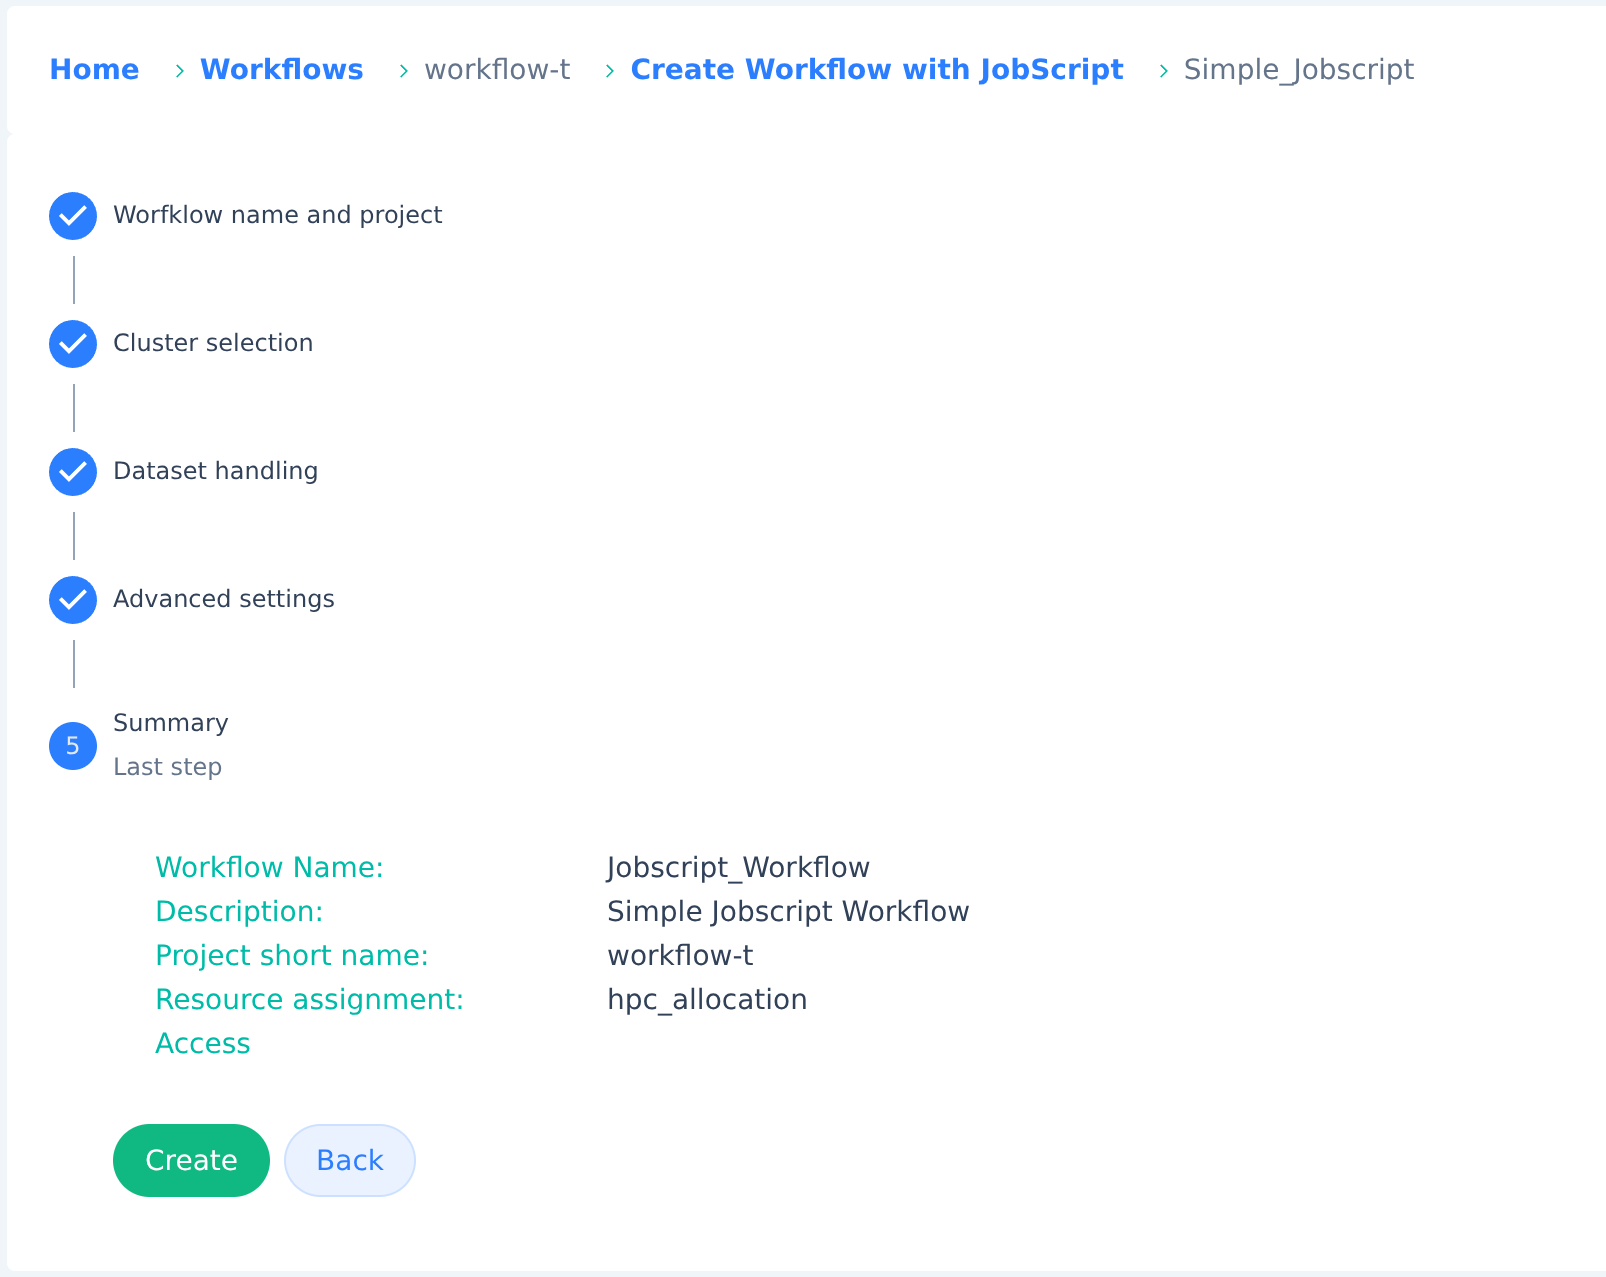
Finish the process with the Create button. You will be returned to the familiar Workflows section. Your newly created workflow should be added to the list soon, but sometimes it might take a while. In the list, you will also see the type of your workflow.
Create a workflow execution
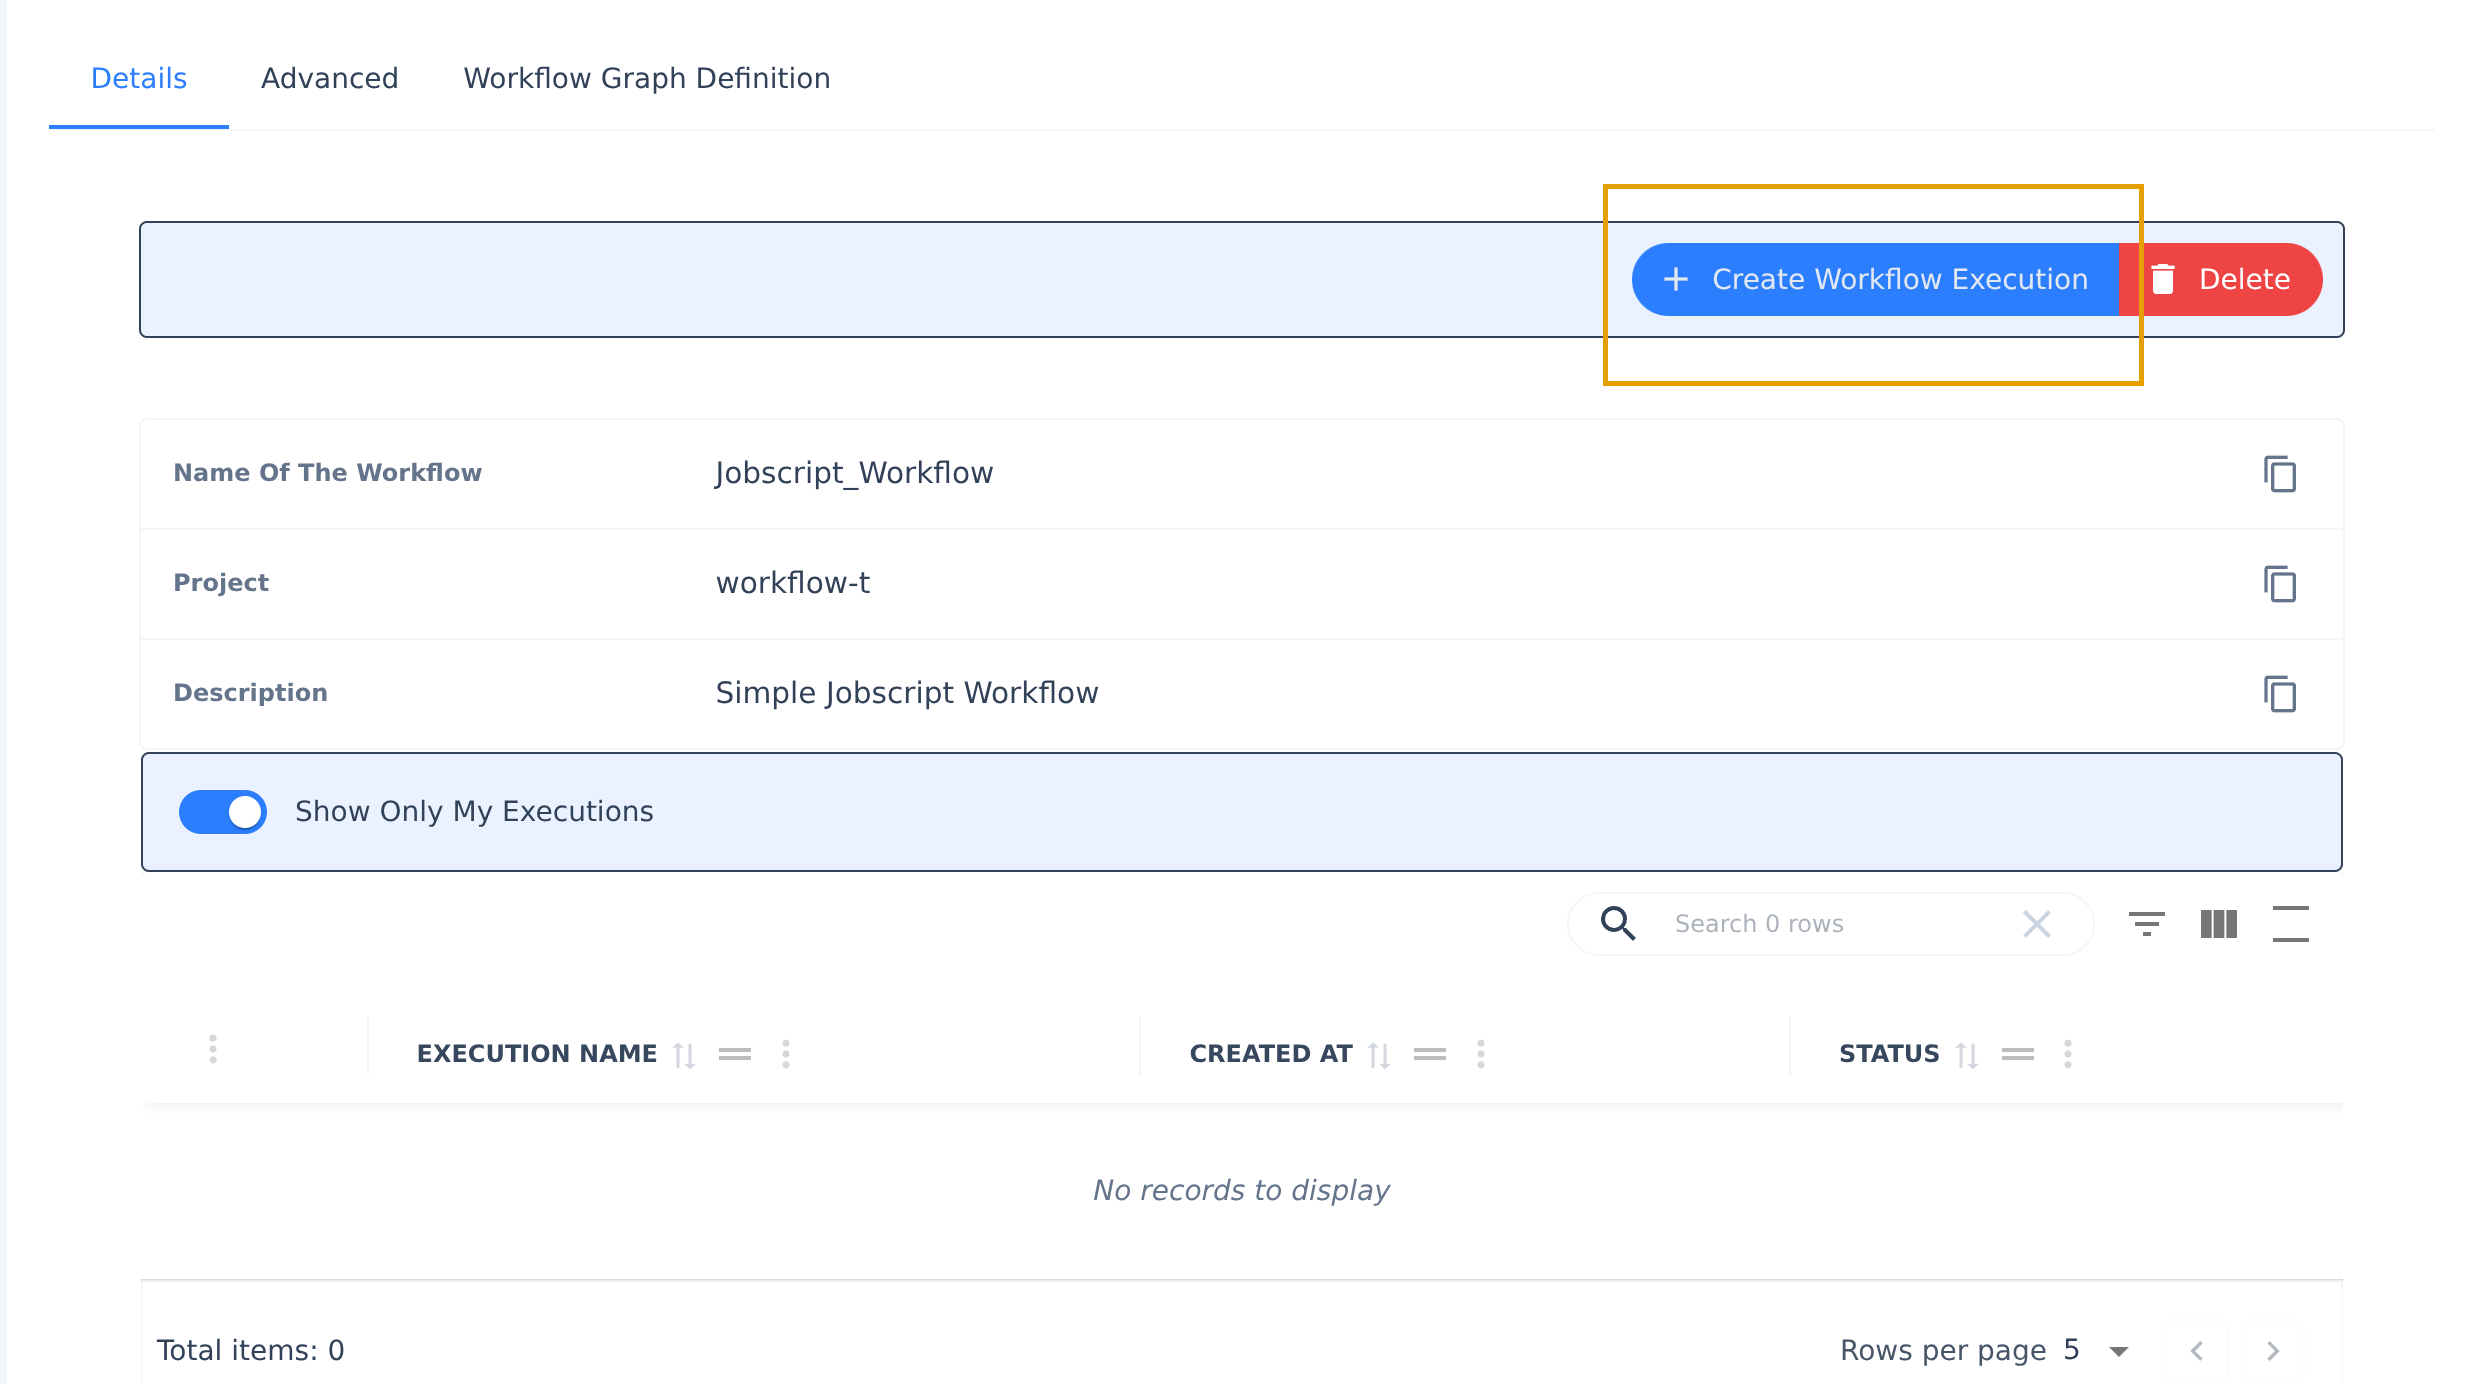
This is the final step that will run your code on the HPC cluster. We need to go to the Workflows section you already know. Next to every workflow you have prepared is a little Details icon. Click it.
Among other details, this is where the Create Workflow Execution button is waiting. Click on it to start the execution.
A new form will open that will contain the information you already entered during the workflow creation. The only and most important field is the Workflow Execution Name, so enter it and press the Create button.
You will be returned to the detail of your workflow and the execution will be added to the queue. On the left side, there is another Details button.
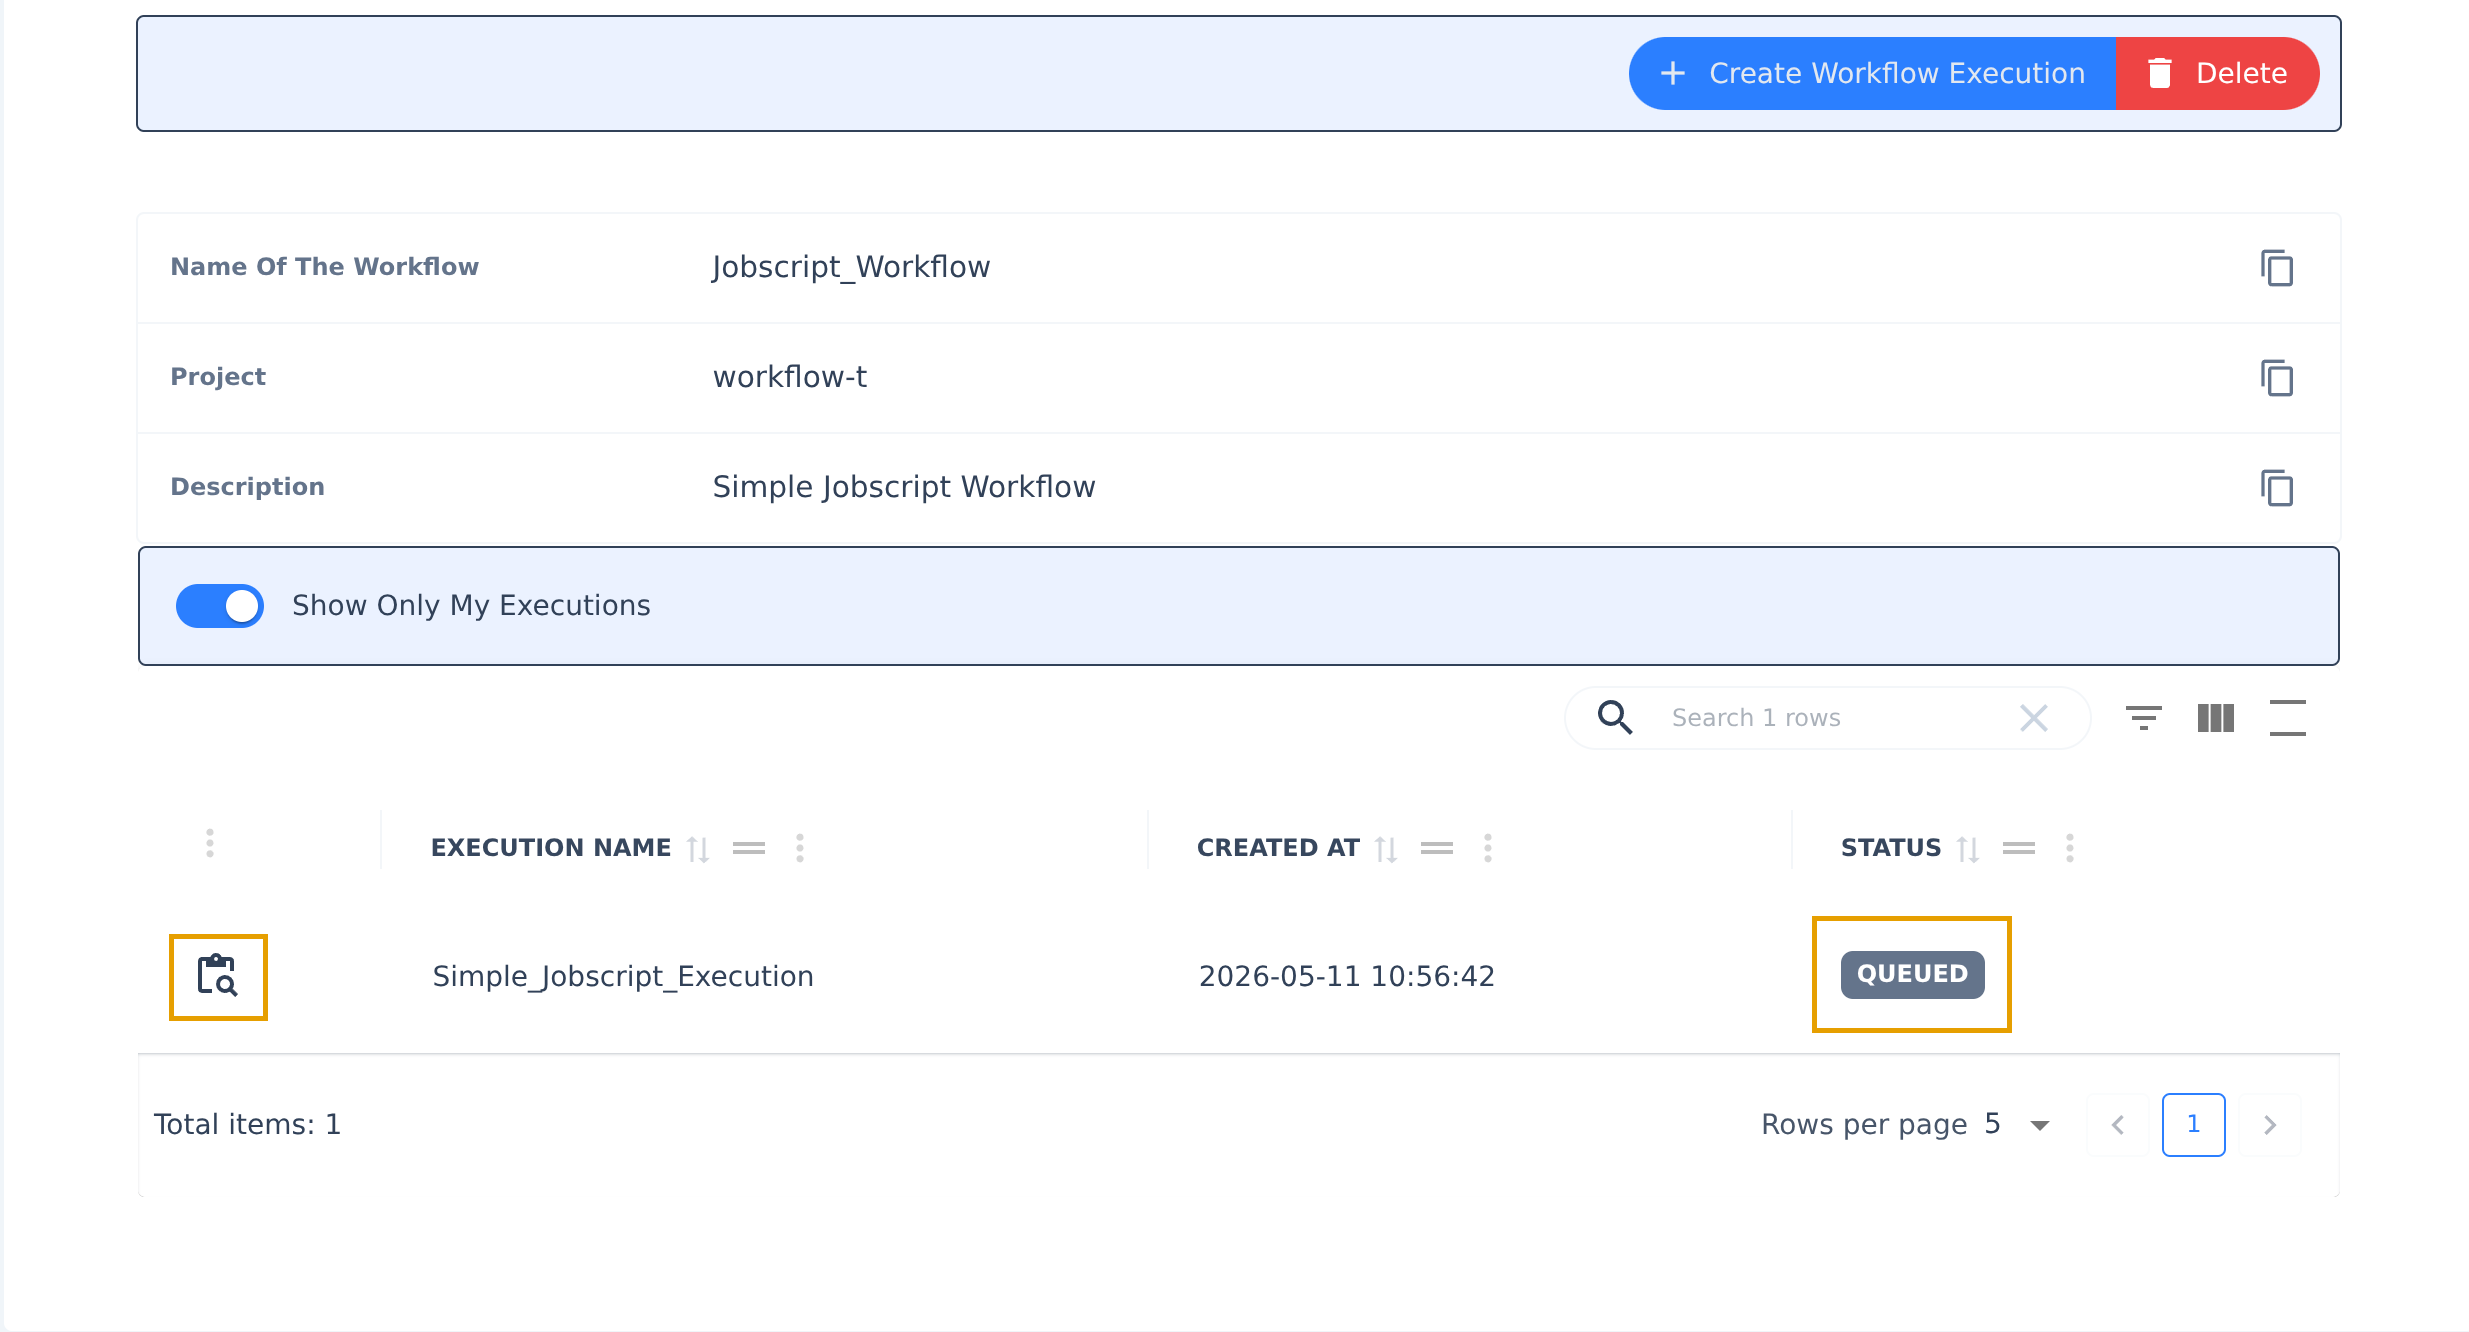
If you click on it, you will get the workflow graph, and you can watch in real time how every block is executed. Moreover, if you move your mouse above any block, you will get detailed information. It is from here that you can access the logs. Just click on the View HPC Job Logs button.
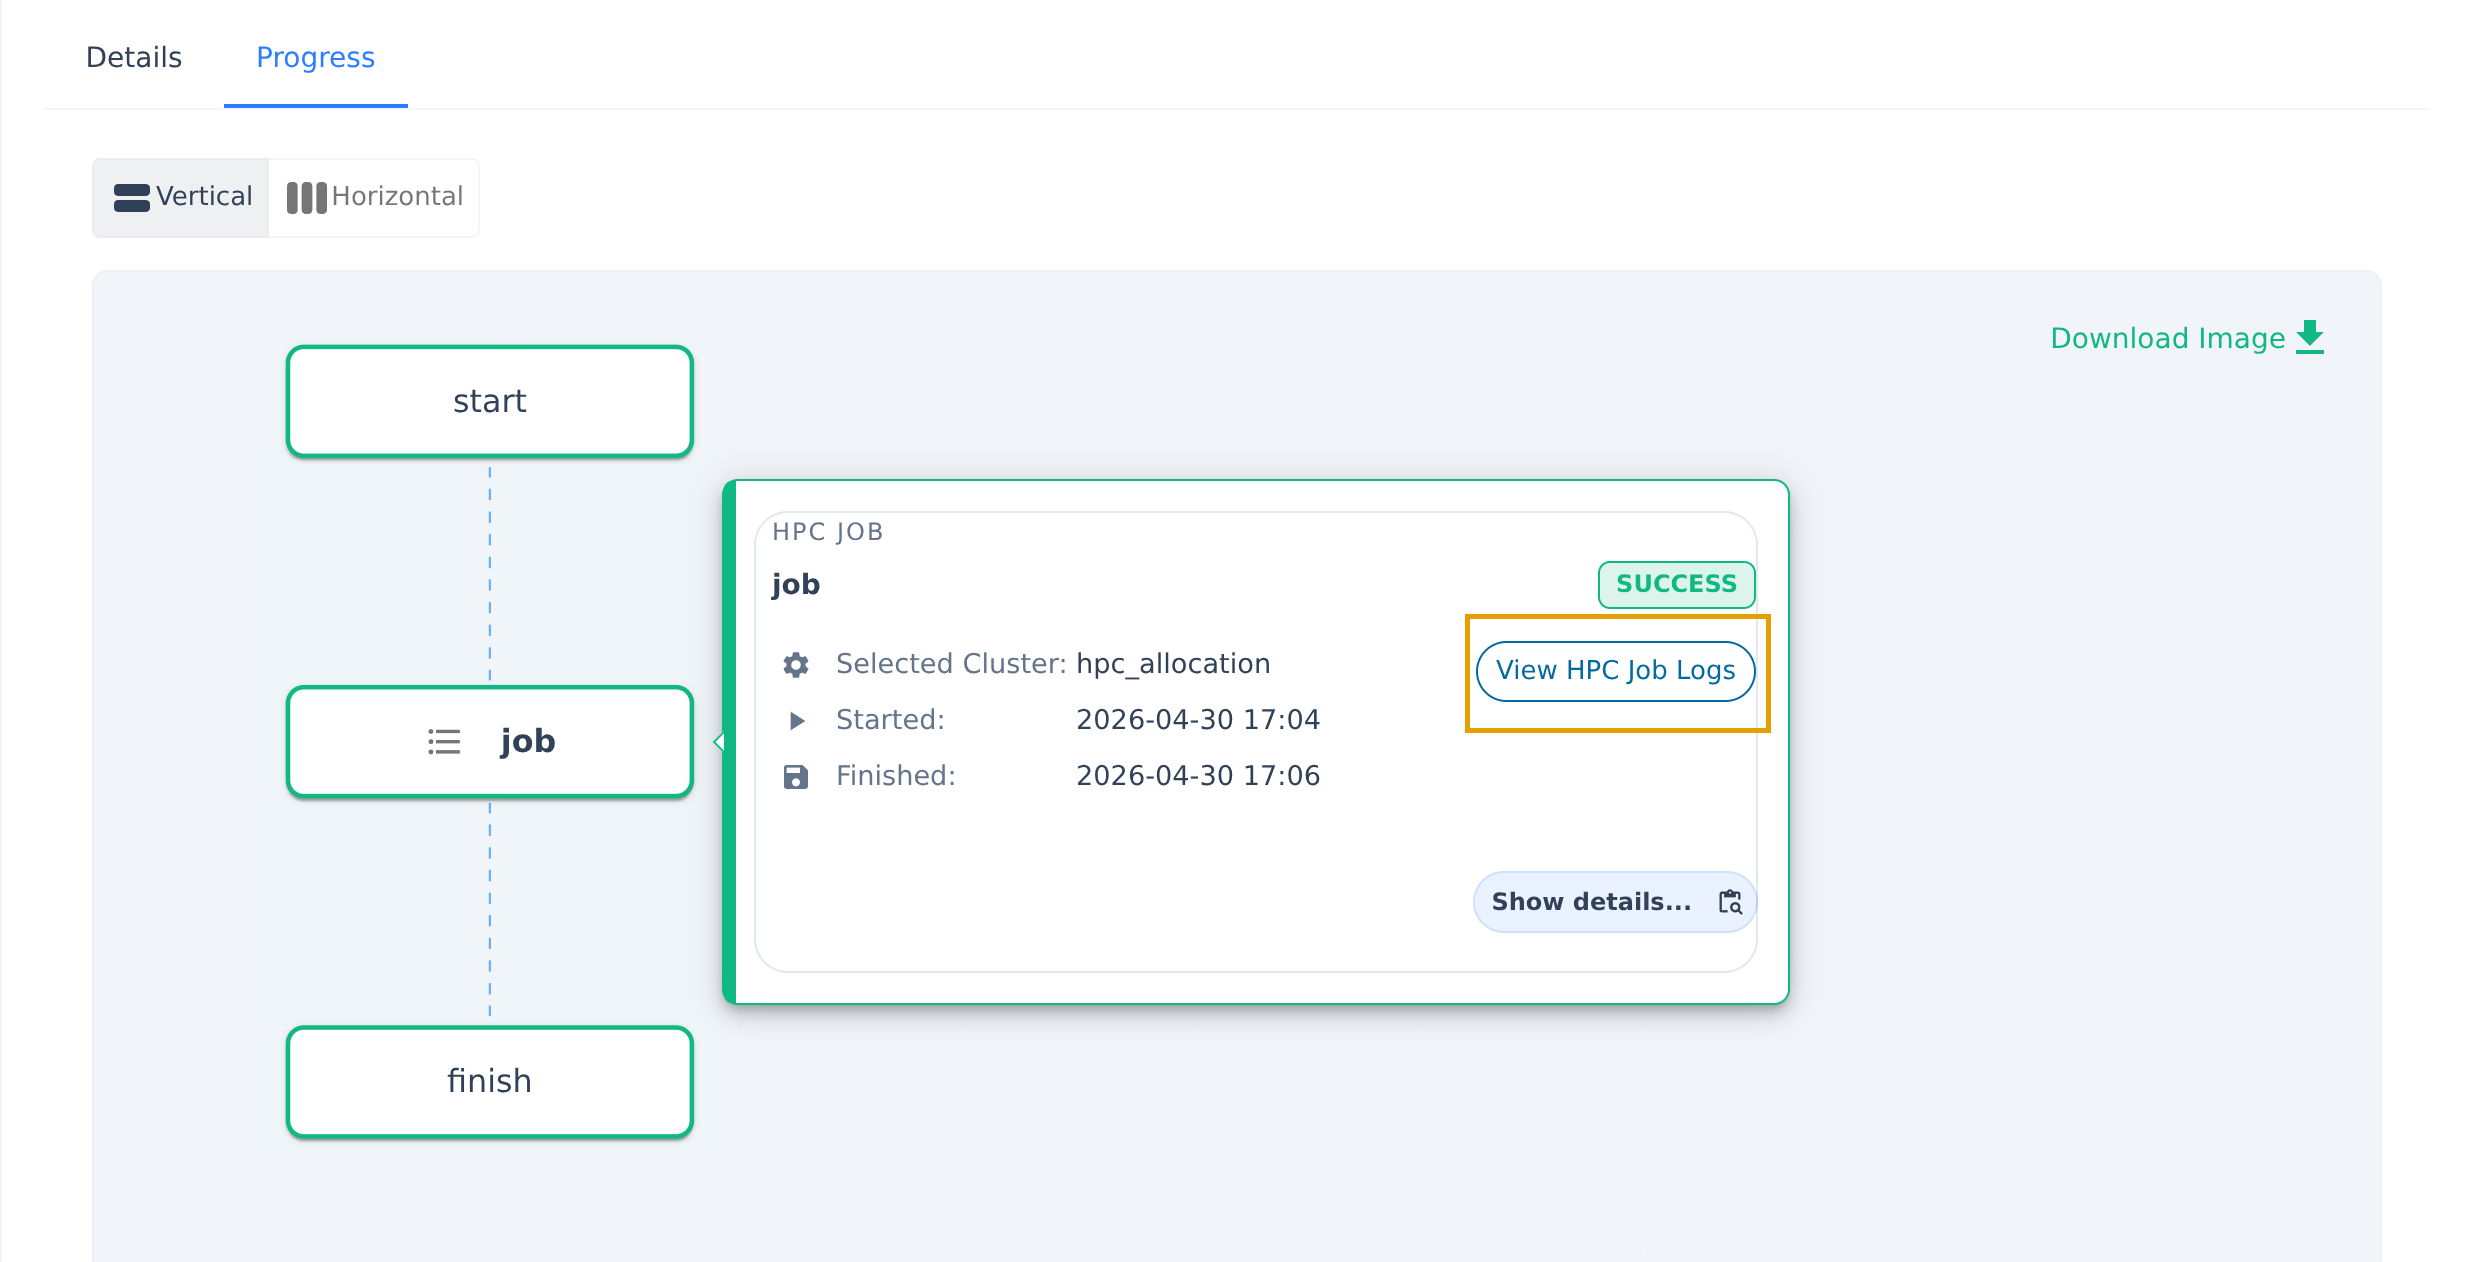
If your code has any outputs, this is where you can find them.
And this is it. You uploaded your own code and ran it on the cluster. Good job!!!